Difference between revisions of "Relay Module 3.3V to 5.5V"
(→Testing for RaspberryPi) |
|||
| Line 66: | Line 66: | ||
[[File:LLS_4.PNG]] | [[File:LLS_4.PNG]] | ||
| − | =='''Testing | + | =='''Testing of RaspberryPi'''== |
*Download the [[Media:1sample_code_for_RaspberryPi.zip|Sample Code for RaspberryPi]]. | *Download the [[Media:1sample_code_for_RaspberryPi.zip|Sample Code for RaspberryPi]]. | ||
*Upload the code to the RaspberryPi. | *Upload the code to the RaspberryPi. | ||
| Line 80: | Line 80: | ||
*We can see that the external LED lights up for 0.5 seconds and then goes off for 0.5 seconds, blinking continuously. | *We can see that the external LED lights up for 0.5 seconds and then goes off for 0.5 seconds, blinking continuously. | ||
| − | ==''' | + | =='''Testing of Arduino'''== |
| − | [[Media:1sample_code_for_Arduino.zip|Sample Code for Arduino]] | + | *Download the [[Media:1sample_code_for_Arduino.zip|Sample Code for Arduino]]. |
| + | *Upload the code to the Arduino. | ||
| + | *Wire according to the Connection Diagram. | ||
| + | *We can see that the external LED lights up for 1 second and then goes off for 1 second, blinking continuously. | ||
Revision as of 03:45, 2 December 2020
Contents
Introduction
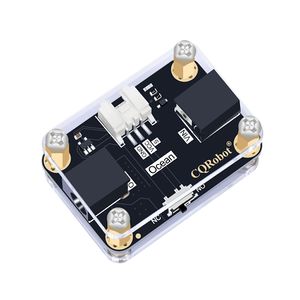
Relay is an automatic switching element with isolation function, which is widely used in remote control, telemetry, communication, automatic control, mechatronics and power electronic equipment, and is one of the most important control elements. The traditional relay module has complicated wiring and is not friendly to novice makers or electronic enthusiasts. The CQRobot relay module simplifies the wiring of traditional relays. The input terminal is equipped with an adapter, which is compatible with most power supplies and battery boxes. , DC power supply, power bank, etc. While simplifying the wiring method, the functions of the relay NC and NO are retained, and only a simple adjustment of the toggle switch is used to switch between normally open and normally closed modes.
CQRobot's latest simple relay module uses a standard Ocean sensor interface and supports a wide voltage input from 3.3V to 5.5V, making it easy to Compatible with Raspberry Pi, Micro:bit, Arduino and other main control boards. Satisfy your needs in robot control, lighting control, smart home, surveillance and other control applications.
Specifications
- VIN Operating Voltage: 5V to 30V
- VIN Operating Current: 0A to 2.5A
- Logic Power Supply: 3.3V to 5.5V
- Logic Signal: 3.3 to 5.5V
- Operating Temperature: -55 Degree Celsius to +150 Degree Celsius
- Switching Characteristics: T(on)= 20us / T(off)= 50us
- Switching Trequency: 1kHz
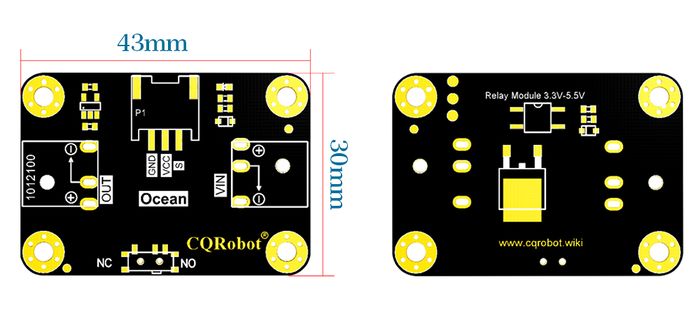
- Dimension: 43mm * 30mm
Product Size
Pin and Cable Description
Connection Diagram
Prepare for RaspberryPi
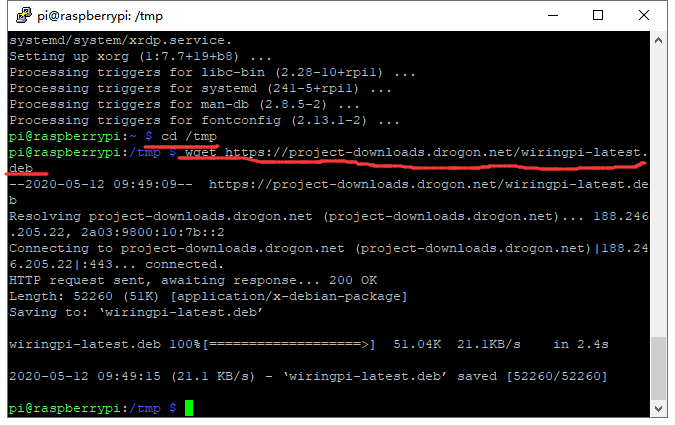
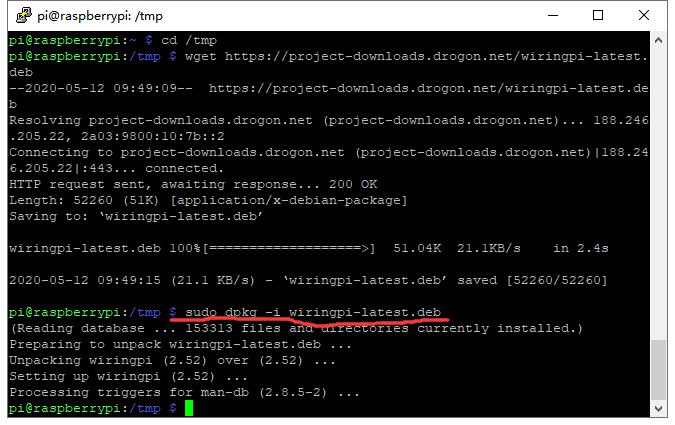
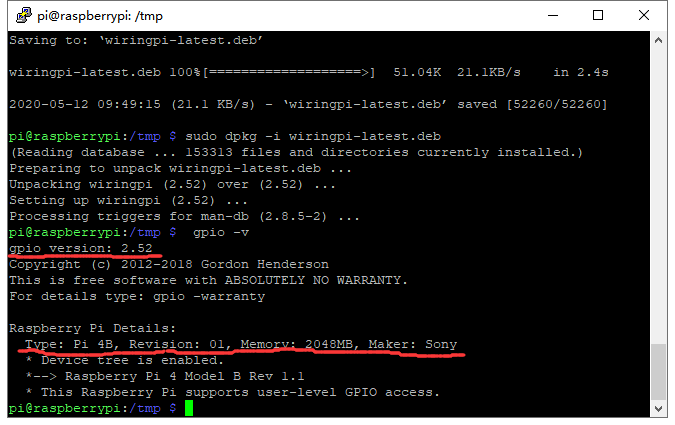
Before testing of RaspberryPi,you must install the lastest WringPI tool.
$ cd /tmp
$ wget https://project-downloads.drogon.net/wiringpi-latest.deb
$ sudo dpkg -i wiringpi-latest.deb
$ gpio -v
WiringPI has updating to 2.52
$ gpio readall
Testing of RaspberryPi
- Download the Sample Code for RaspberryPi.
- Upload the code to the RaspberryPi.
- Wire according to the Connection Diagram.
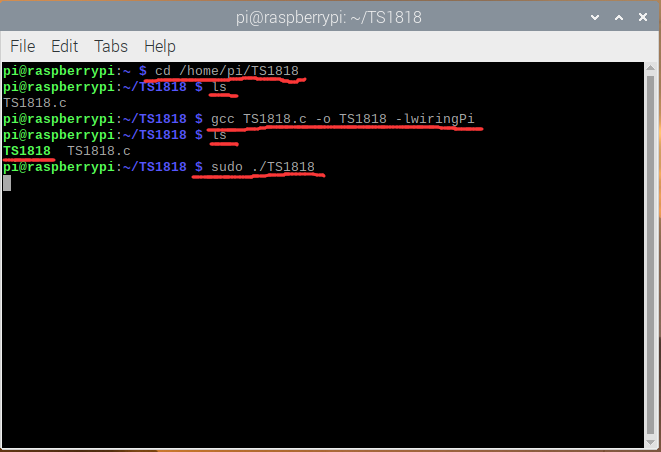
- Execute the following command in the terminal to run the program.
ls
gcc TS1818.c -o TS1818 -lwiringPi
sudo ./TS1818
- We can see that the external LED lights up for 0.5 seconds and then goes off for 0.5 seconds, blinking continuously.
Testing of Arduino
- Download the Sample Code for Arduino.
- Upload the code to the Arduino.
- Wire according to the Connection Diagram.
- We can see that the external LED lights up for 1 second and then goes off for 1 second, blinking continuously.
